Device Settings (Enterprise)
How to add an action to a project?
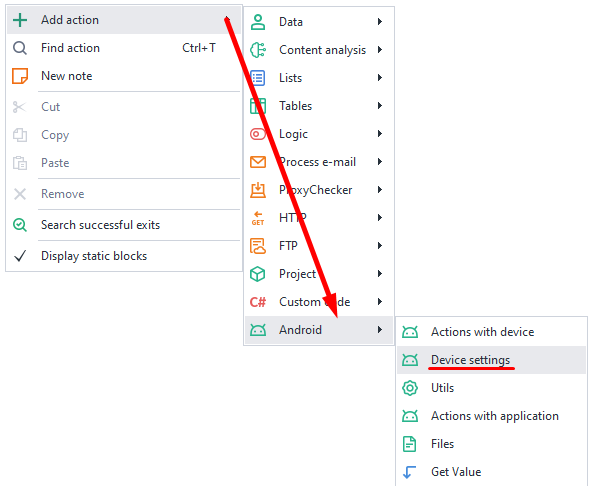
To open the context menu, right-click on an empty space.
Then select Add Action → Android → Device Settings.
How to set up device identifiers
With this feature, you can change parameters like IMEI, Android ID (device identifier), IMSI, and Sim Serial (SIM card serial number).

You can enter the data manually or use it from the active profile.
How to add a mobile operator?
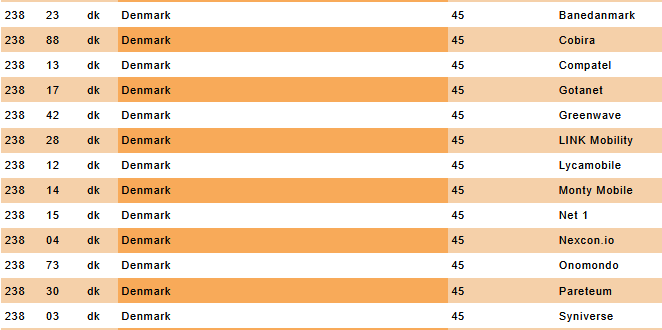
You can enter the data manually or use the current profile. For manual entry, all necessary information can be found here
Settings available:
- Country. Two letters from the ISO column.
- Operator code. MCC and MNC columns combined (for example, 25002 for MegaFon).
- Operator name. The Network column (Baykal Westcom, BeeLine/VimpelCom, MTS).
- Phone number. Don't add the "+" sign at the start—just 79*** and so on.
How to specify the device model?
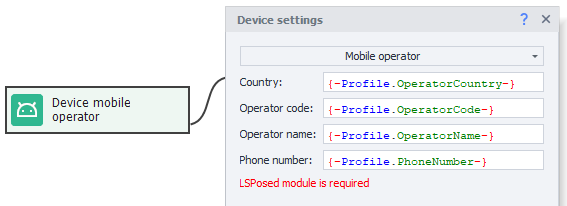
Available settings:
- Manufacturer. Which device are you emulating? (Samsung, Huawei, Xiaomi, Google, Meizu, etc.)
- Model. Which model is being used. You can find it in build.prop (more on that below).
- ro.product.brand. If this field is empty, repeat the Manufacturer value.
- ro.product.board. For newer phones, this is not relevant—you can leave it empty.
- ro.hardware and ro.build.fingerprint. Get these from build.prop.
How to find data in build.prop:
You need to search like this in your search engine:
build.prop phone_model (for example, build.prop Samsung s10).
Go to one of the results, and in the text look for what you need:
ro.product.brand=samsung
ro.hardware.chipname=exynos9820
ro.product.board = нет
ro.product.model or ro.product.system.model
In the terminal (like Terminal Emulator for Android), run the getprop command.
How to set the WiFi MAC address:
Here you can set a new MAC address for the device's WiFi adapter. You can enter the data manually or use the active profile.

Format: use colons XX:XX:XX:XX:XX:XX, or just type it without colons XXXXXXXXXXXX (12 characters)
System language selection:
This setting changes the language of the connected smartphone.
Available values: en, ko, de, ja, fr, ru, es, pt, hr, cn, sr, it, cs, th, in, pl, tr, uk, ar, vi, fil
Setting the timezone:
Lets you pick the device's time zone.
The format is: Europe/Moscow or America/New_York, etc.

You can check the full list of time zones here
How to set the date and time:
Set whatever you want: year, month, day, hour, minute, and second.

If you leave all fields empty, the time will sync automatically with the current time.
Access to WebView
Provides the ability to execute JavaScript in applications containing WebView.
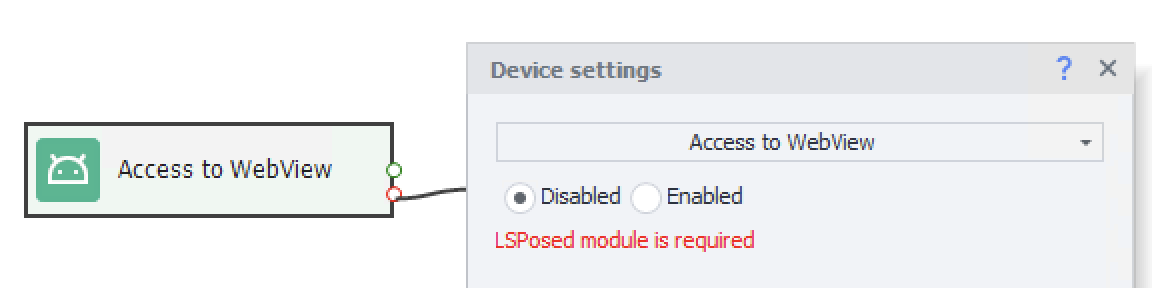
By default, access to WebView in non-browser applications is always disabled. This setting allows access to HTML markup not only in browsers, but also in applications that use WebView. To do this, the android.webkit.WebView element must be present in the element tree.
Example of implementation JavaScript:
| Access to WebView is disabled | 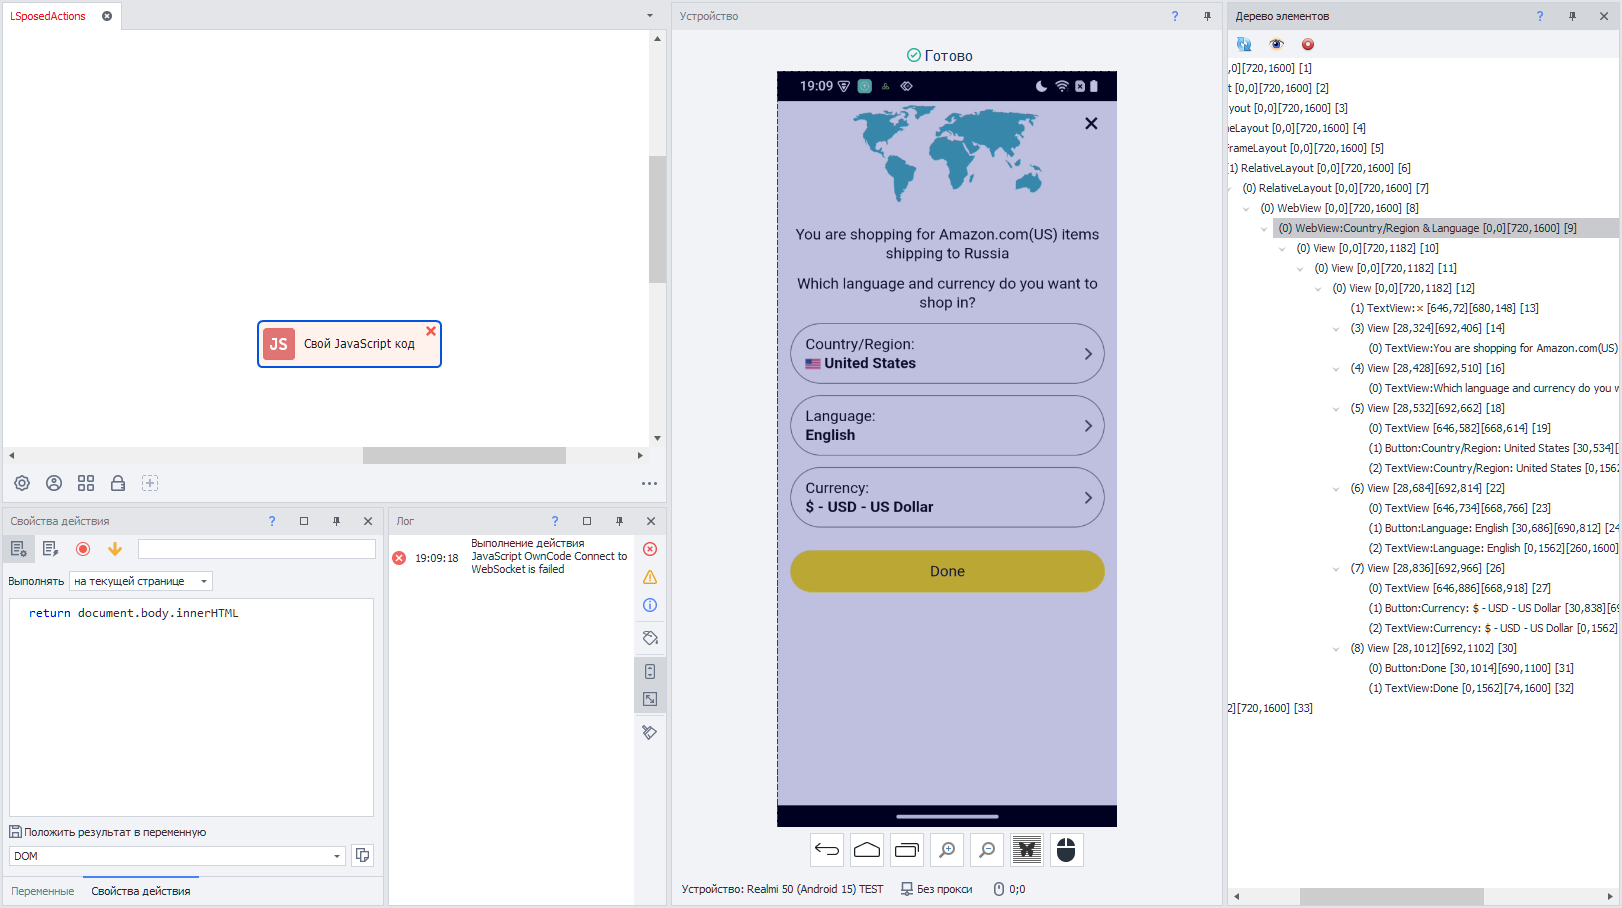 |
|---|---|
| Enabled | 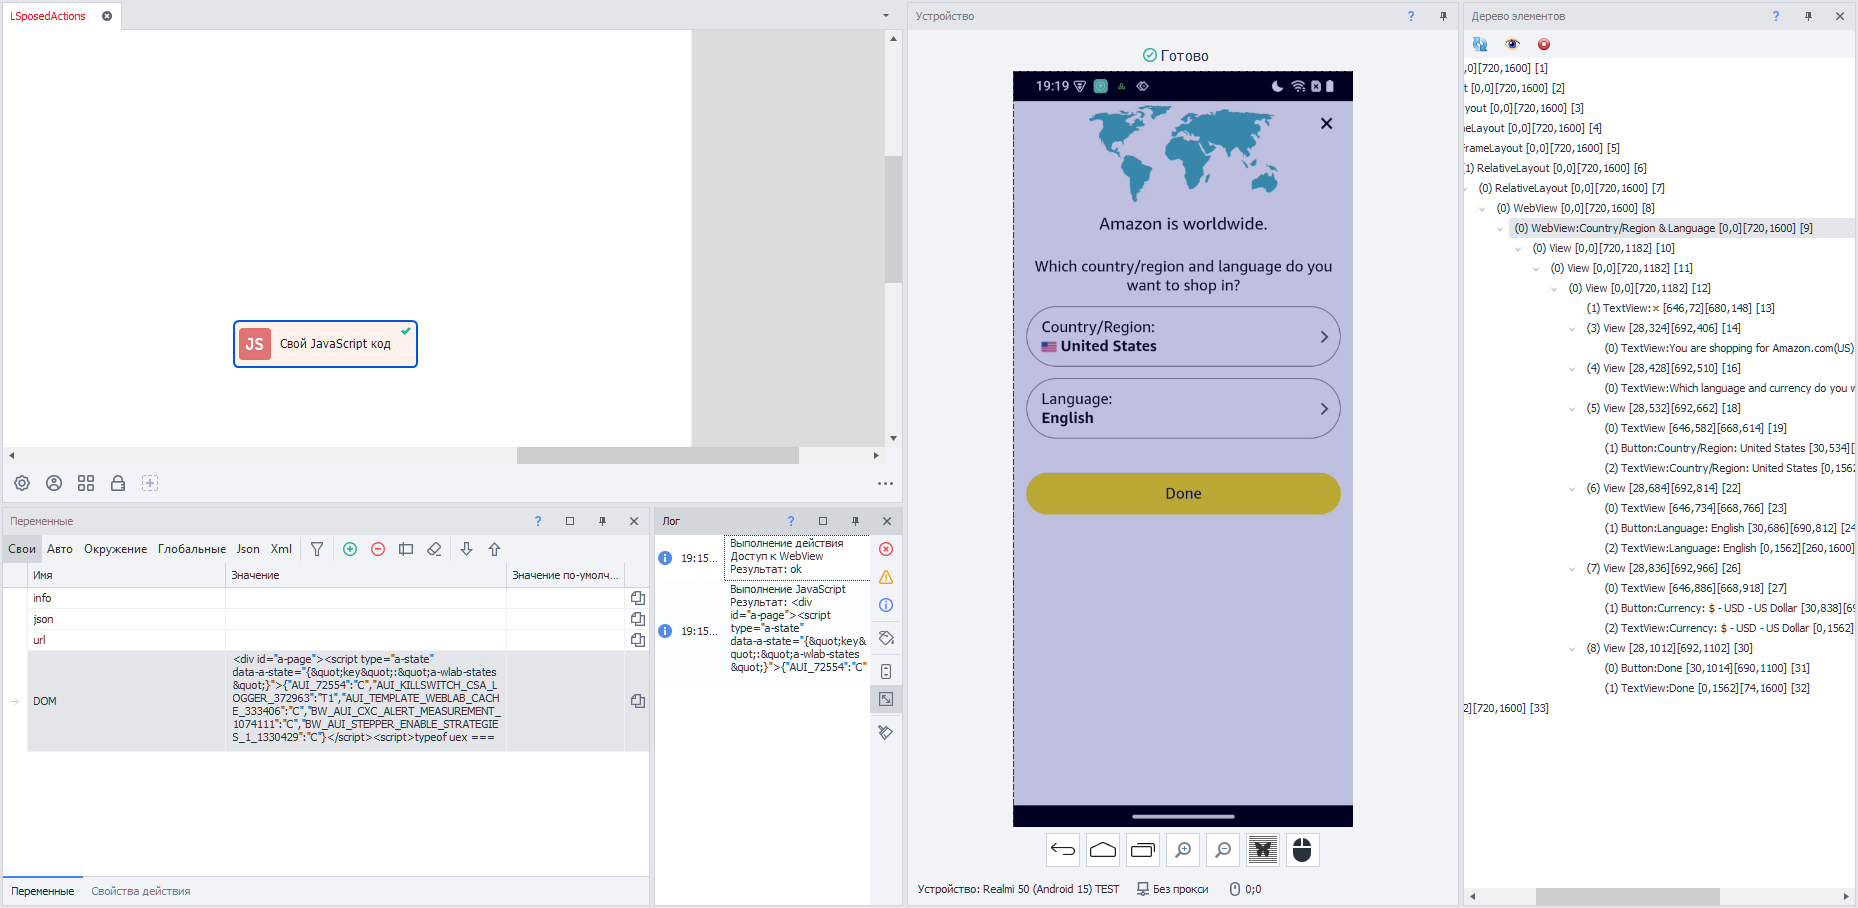 |
Generate a device
Allows you to create a device based on specified filters or preconfigured parameters in JSON format.
Random
Creating and using a random device based on specified filters and settings.
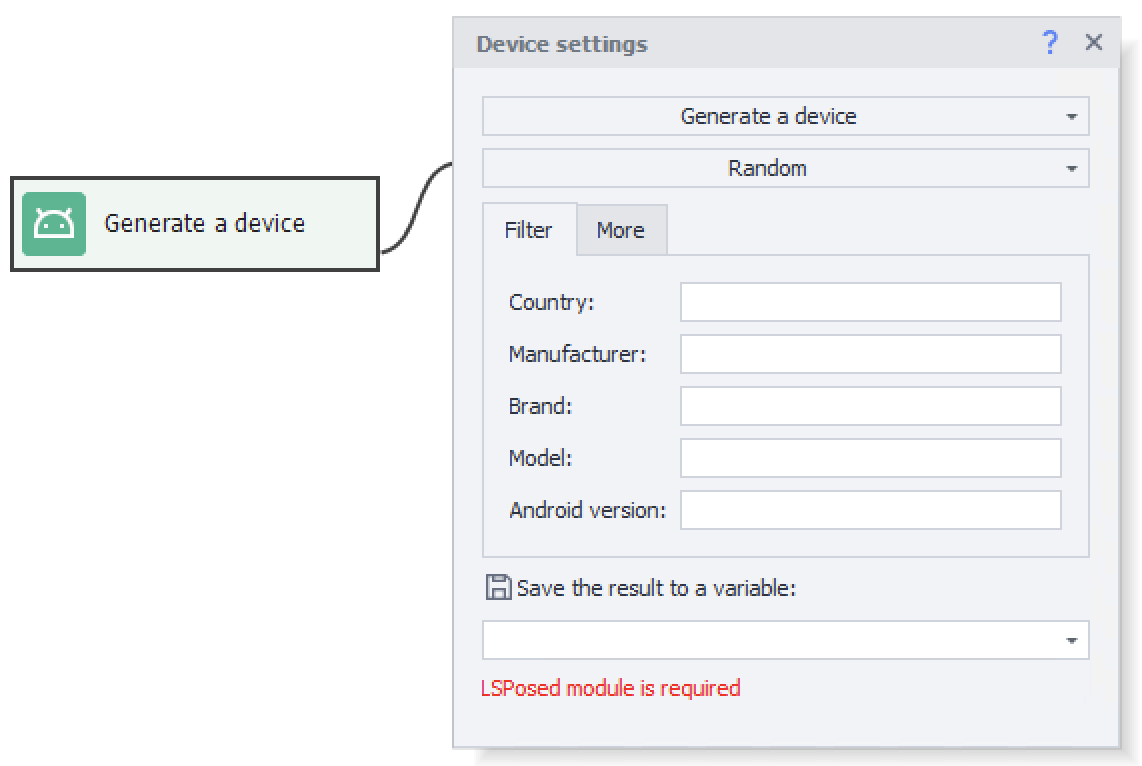
Tab «Filter»
- Country. Used to generate the mobile operator and related settings.
The country can be specified in ISO format:- two characters, for example,
ru,fr,us - or in full:
Russia,France,United States of America - also supports the format specified in the profile field Country (Russia, France, USA)
- two characters, for example,
You can view the codes and names of countries on the website http://www.mcc-mnc.com/
- Manufacturer. You can specify several manufacturers:
google|samsung. - Brand. Used if the manufacturer has multiple brands and a specific brand is required.
For example, the manufacturer Xiaomi has the brands Poco and Redmi. - Model. Required to identify a specific set of models.
Like,Pixel [7|8]means only Google Pixel 7 or 8. - Android version. To select specific versions of Android:
12|13|14|15
Tab «More»
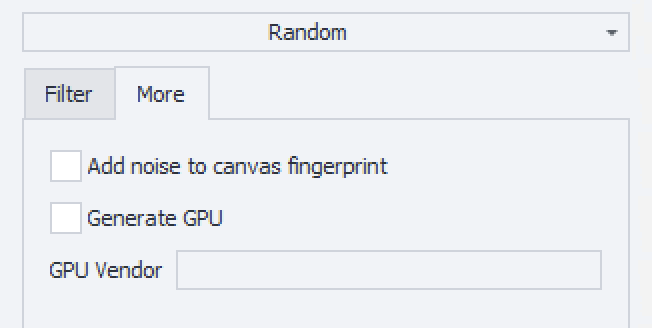
- Add noise to canvas fingerprint — adds noise in applications and browsers.
- Generate GPU — allows you to specify GPU Vendor and GPU Renderer in applications. And in browsers, it changes the WebGL settings: Unmasked Vendor and Unmasked Renderer.
- GPU Vendor — lets you set a filter for GPU Vendor (
Qualcomm|ARM).
Some devices powered by Qualcomm or ARM may experience display issues (white screen). You may apply a filter to use only the vendor that works. If you encounter issues with both vendors, we recommend disabling GPU rendering. - Save the result to a variable — the generated device will be saved to a variable in JSON format. You can reuse the generated device later.
After setting up the filters, we recommend checking them by performing an action. If the values are set incorrectly or models with the required specifications are not available in the device database, then a warning will appear indicating that it is not possible to create the device.
Use JSON
Allows you to set up the device using predefined parameters in JSON format.
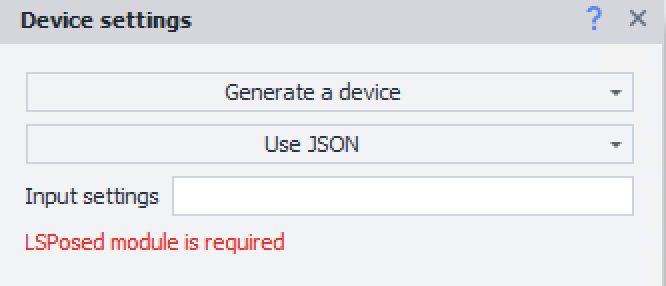
Input setting — requires a string in JSON format, you can specify a variable.
To obtain the string and check its format, generate a random device.
How to set up a proxy:
This setting lets you set a proxy for all connected devices.

Proxy format:
- With authorization:
protocol://login:password@ip:port - Without authorization:
protocol://ip:port
Possible values for protocol: http, socks4 or socks5. If not specified, http is used by default.
Proxifier.
A powerful and flexible app that lets you route internet traffic through a proxy server. It allows apps that don't support proxies to work with them.
DNS addresses.
Here you can set DNS server addresses. If you have several, separate them with a comma ,
Local IP.
Set the device's local IP address.
If you make the last part of your address zero, for example, 192.168.20.0, a random address from that subnet will be generated: 192.168.20.2-192.168.20.254.
Redsocks.
To proxy traffic, Redsocks2 is used — a transparent redirector of TCP/UDP connections to a proxy.
Use computer's internet connection.
When this is on, all phone traffic will be routed to your computer.
DNS addresses.
Here you can set DNS server addresses. If you have several, separate them with a comma ,
By default DNS requests are sent through the proxy server. If your requests are blocked (can't connect to the internet or get DNS_PROBE_FINISHED_NO_INTERNET errors), you need to disable DNS forwarding.
var settings = new DroidProxySettings.Redsocks();
settings.UseDnsTcp = false;
settings.UseDnsUdp = false;
instance.DroidInstance.Proxy.SetProxy("socks5://10.20.30.40:8080", settings);
You should run this code before setting up the proxy.
Local IP (only if using the computer's internet connection).
Set the device's local IP address.
If you make the last part of your address zero, for example, 192.168.20.0, a random address from that subnet will be generated: 192.168.20.2-192.168.20.254.
Clash.
A powerful proxy client that can route traffic according to rules you set.

Use computer's internet connection.
When this is on, all traffic from the phone is routed through the computer.
DNS addresses.
Here you can set DNS server addresses. If you have several, separate them with a comma ,
Local IP (only if using the computer's internet connection).
Set the device's local IP address.
If you make the last part of your address zero, for example, 192.168.20.0, a random address from that subnet will be generated: 192.168.20.2-192.168.20.254.
Local IPv6.
You can also set the local IPv6 address for the device here.
Example: fdfe:dcba:9806::1/126
If you use an address like fdfe:dcba:0::1/126 then the 0 will be replaced with a random hexadecimal value.
White list.
A list of apps whose traffic goes through the proxy (list each app separated by a comma). All other apps will use a direct internet connection (no proxy).
You can find an app's identifier using the Installed Apps tool.
Black list.
Here, it's the opposite—you set the list of apps that won't use the proxy. Their traffic goes straight to the internet, and all other apps use the proxy.
You can find an app's identifier using the Installed Apps tool.
If both are filled in, only the whitelist will be used.
Rules.
You have the option to set your own rules for proxying. They should be separated by a semicolon ; or a line break.
| Examples of rules: | Description |
|---|---|
DOMAIN-REGEX,^abc,DIRECT | Do not proxy if domain name begins with abc |
DOMAIN-SUFFIX,google.com,REJECT | Block traffic to the domain google.com |
DOMAIN-KEYWORD,instagram,PROXY | Proxy traffic if the domain name is instagram |
IP-CIDR,1.1.1.1/32,DIRECT | Do not proxy traffic to the address 1.1.1.1 |
AND,((NETWORK,TCP),(DST-PORT,5228-5230)),DIRECT | Do not proxy traffic to ports TCP 5228-5230 |
MATCH,DIRECT | Do not proxy all traffic |
MATCH,PROXY | Proxy all traffic |
DOMAIN-SUFFIX,speedtest.net,PROXY;MATCH,DIRECT | Only traffic to speedtest.net is proxied |