Working with BlueStacks
What is BlueStacks?
It's an Android emulator that creates a virtual environment similar to an Android smartphone or tablet. You can use it on Windows and macOS.
There's no official support, so it might work unstably.
Connecting to ZennoDroid
- Download the emulator from the official site: BlueStacks
- After installation, open the shortcut named BlueStacks Multi-Instance.
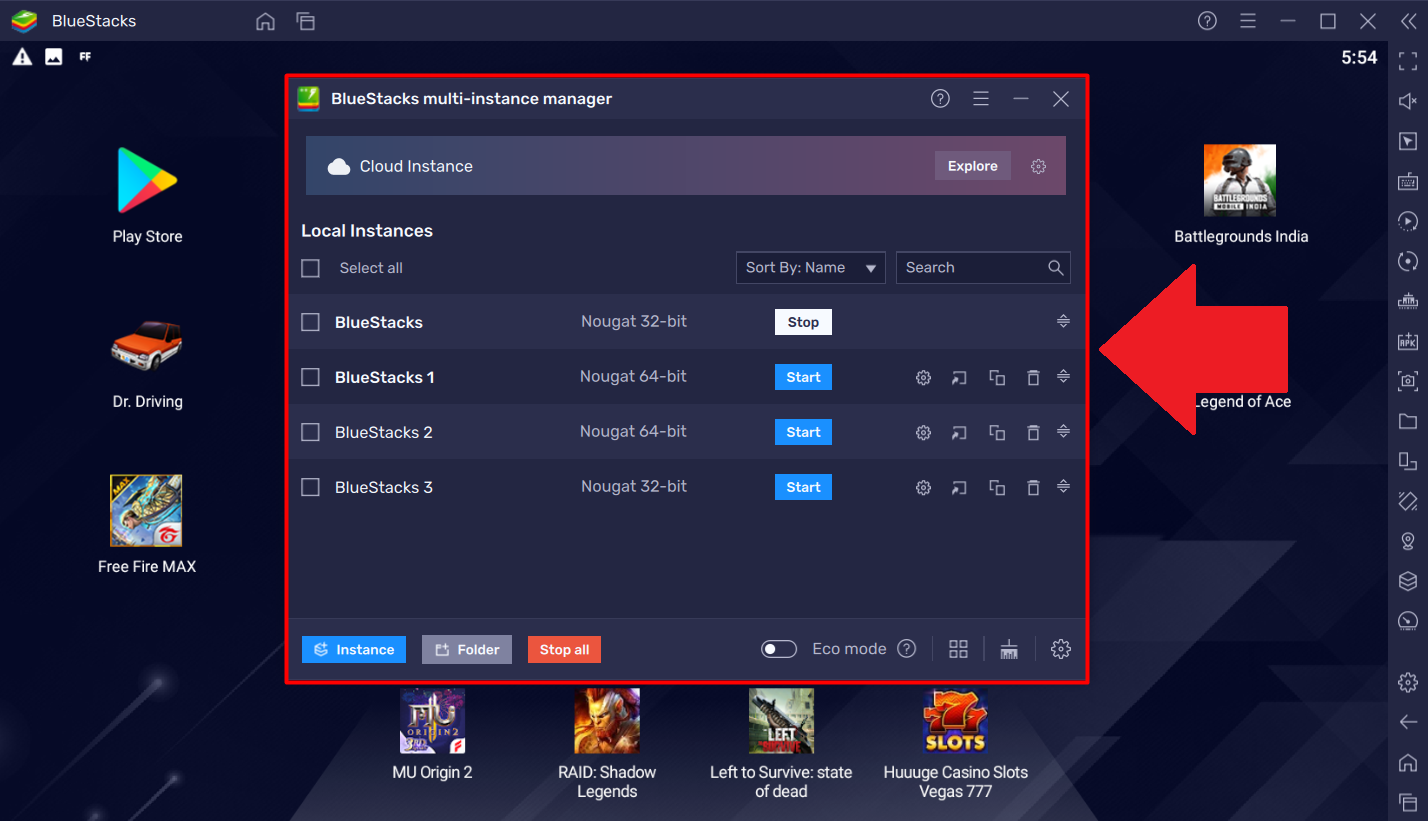
- You can add new virtual machines by clicking: Window → New.
Tip: Don't use the first added VM for work.
It can cause errors that can only be fixed by fully reinstalling BlueStacks. That's just how the emulator works.
So, it's best to create one or more additional VMs and use those instead.
- Download this archive and extract it.
- Open Project Maker for ZDE and load the project from the archive called Bluestacks5RootMagisk_v8.
- In the BlueStacks App Player action, enter the name of the emulator you want to root.
- Start the project to run it.
Note: if the emulator has been started before, rooting begins right away. If it is a new instance, it is started once to populate the data partition first, and rooting begins after that.
If the project fails at any step, try running it again.
If, after several tries, the template still doesn't work, contact our Support.
Video guide
Getting root in BlueStacks 5 and MSI App Player 5 with the Bluestacks5RootMagisk_v8 template and Magisk 30.7.
Working with the emulator
Every method for controlling the emulator - starting, stopping and connecting, creating and deleting instances, unlocking the system disk, installing Magisk, Zygisk and modules - is described in the API reference: BlueStacks5 API.