ProxyChecker Settings
🔗 Original page — Source of this material
This article is copied from the ZennoProxyChecker help section, since the settings are identical in both programs. Original - ❗→ Main settings. You may come across screenshots, internal help links, and other things related to ZennoProxyChecker in this article.
Table of Contents
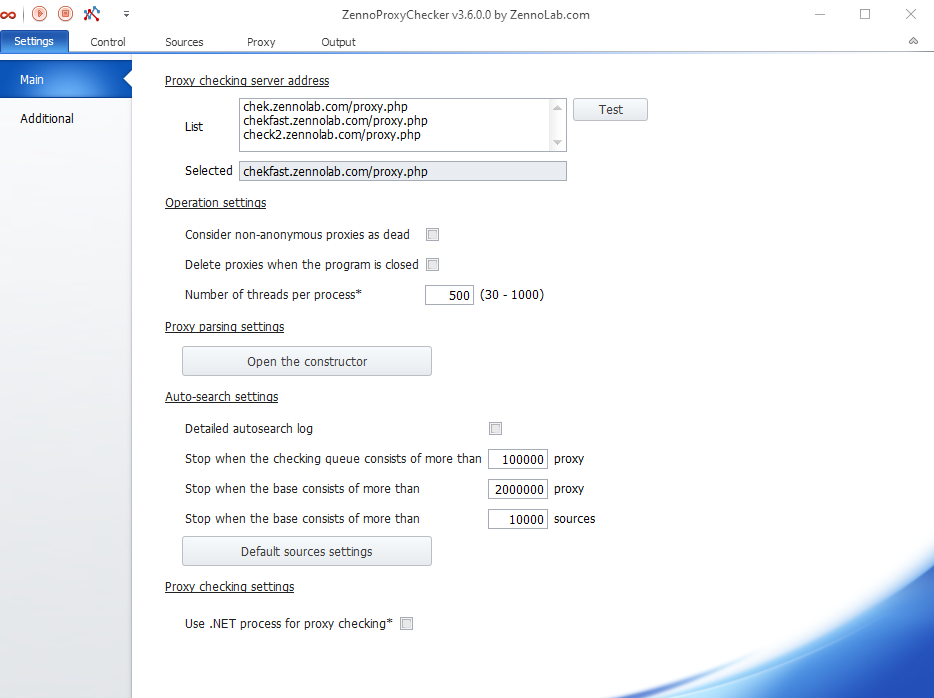
Proxy Check Server Address
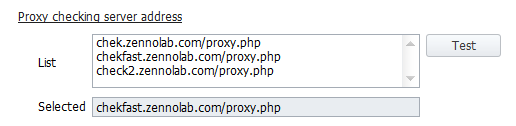
Select a proxy check server from the list of addresses.
List
The URL addresses the program uses to check proxies. By default, three addresses are listed here, but you can add your own.
Test Button
When you click it, the program will sequentially check the addresses from the List above for availability. The test will end when the first working check server is found. Or when all addresses in the list have been tried.
Selected
Here you will see the address that will be used to check if all proxies are alive or not. The first working address from the List appears here.
Behavior Settings
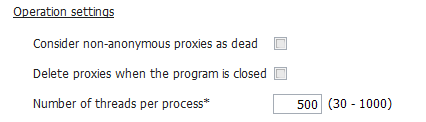
Consider Non-anonymous Proxies Dead
The program will filter out non-anonymous proxies and only show anonymous ones.
Remove Proxies on Program Exit
Clears the proxy list when the program is closed.
Number of Threads per Process
Sets the number of threads used for checking.
You need to restart the program for changes to take effect.
Proxy Parsing Settings

Here you can add new and edit existing proxy parsing structures (a structure is essentially regular expressions). To open the parsing structure builder, click the Open builder button.
Proxy Parsing Structure Builder
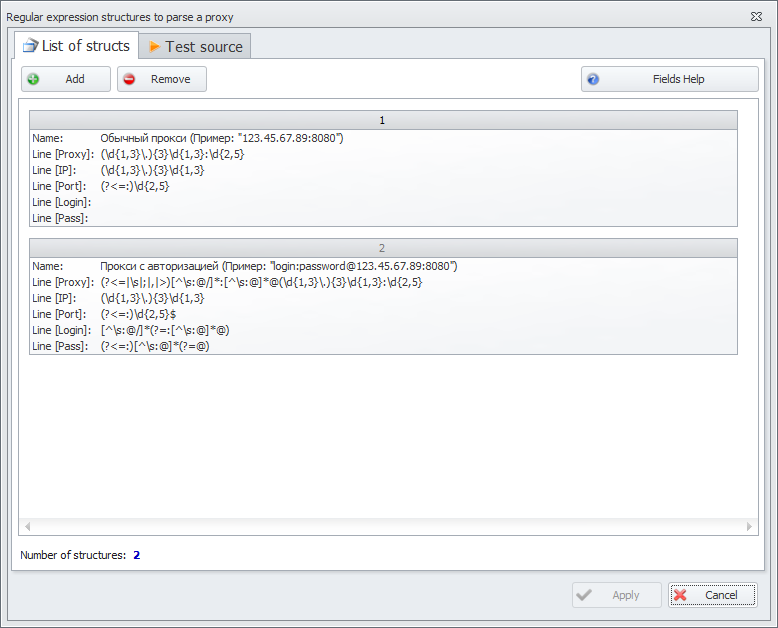
"Structure List" Tab
By default, there are already 2 regular expressions added here. You can also use your own regular expressions by clicking the Add (1) or Delete (2) button.

Some websites may have their own proxy markup, so if necessary, you can create your own parsing structure for almost any format and test it on a specific source using the tester. By clicking the Structure fields reference (3) button, you can get a description of the available fields.
"Test Source" Tab
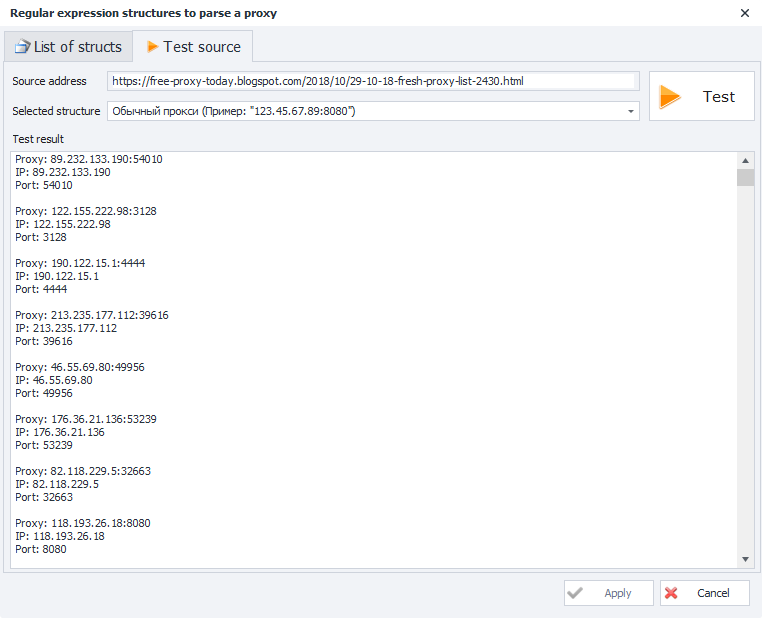
Source address - here you should specify the website address from which proxies will be parsed.
Selected structure - select the parsing rule you added earlier from the Structure List tab.
Then, click the Test button to start testing.
In the Test result window, you will see the proxies found according to the parsing rule.
After closing the Builder window or clicking cancel, parsing results will not be saved.
Auto Search Settings
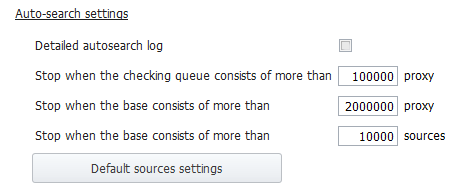
Detailed Autosearch Log
If you check this box, you'll see a detailed report of ZennoProxyChecker's work in autosearch mode.
Stop if More Than XXX Proxies Waiting for Check
If the number of proxies in the check queue exceeds this value, autosearch will stop.
Stop if More Than XXX Proxies in the Database
If the number of proxies in the database exceeds this value, autosearch will stop.
Stop if More Than XXX Sources in the Database
If the number of sources in the database exceeds this value, autosearch will stop.
Default Source Settings
These settings will apply to all newly added sources. You can read more about these features and settings in the article ❗→ Source Settings
Proxy Check Settings

Use .NET Process for Proxy Checking
If checked, proxies will be checked using the .NET implementation CheckingProcessor (restart required).